Digital Elements in the blog header from Hidden Vintage Studios and Holliwood Studios @ DeviantScrap.com

Sunday, August 28, 2011

Got Petite Acrobats?

Tumble Fish Studio's new kit called "My Picks" was released tonight over at DeviantScrap.com and this is my digital creation using the elements from the kit.......

He just looks like a mad magician.....you know the kind that would shrink people and turn them into tiny acrobats to perform in small venues all over the country!  I borrowed the name "Dr. VanNostrom" from Seinfeld......remember Kramar pretended to be Dr. VanNostrom? :-)

Wednesday, August 24, 2011

Got Maters?

Well, it's that time of year when the other "fruit of the vine" is ready for picking.  Let's face it if you are a  tomato fan then you know there is nothing better than a matie sandwich on toast with Miracle Whip or Mayo!  

This digital collage has been created from Tumble Fish Studio digital kits:  Etcetera and And So On.

I had an awesome big pot of 4 different kinds of tomatoes and they were starting to get a billion little green tomatoes on them when it started to turn yellow and then I noticed one morning that some of the leaves were totally stripped off of it.  Much to my dismay this went on for a few more days and then I discovered this extremely evil tomato hornworm!!!! EEEEEKKKKK! It was so big and gross!  I had Gary squish it b/c frankly I was afraid of that pointy horn.  My matie plants never did recover.
If you find one of these on one of your matie plants make sure your roto-till the soil b/c they can lay dormant in the soil and hatch out the following summer (or so the internet gardening sites say).

Enjoy your tomatoes!

Sunday, August 14, 2011

Assemblages and Don't Call Me Shirley.......

A few months ago I had the good fortune of finding 8 inch by 8 inch shadow boxes at Hobby Lobby marked down to a ridiculously low price so I bought a few.......8 to be exact.

 This one has been down with fabric flowers, a tin box painted with a crown, picture of the Eiffel Tower and black feathers.  The lady in the box is from Tumble Fish Studio's "Diva's Digital Kit" and "15 Dresses Digital Kit".
 in
 Getting into that Halloween/Fall mood with this assemblage.  I used a vintage chocolate label for the background.  The girl dressed up as a clown is movie star from the 1920s and early 1930s, Clara Bow.  She stared in 46 silent films and 11 talkies.  She was known at the "It Girl" because she had it all as a movie star in the 1920s.
 How exciting would it be to celebrate Halloween in Paris?  Clara, the Eiffel Tower and the full moon are all raised from the background at various levels.  The orange leather heart and the black suede flowers and also dimensional.


My crafting BFF, Tracey has a full sized dress form that she named "Shirley".  Inspired by "Shirley" I made these dress form pendants made out of leather, painted and over-stamped.  

 The funny thing is that a few years ago I bought a stamp that said, "don't call me Shirley" and so I stamped it on back of the pendant.
Well, all you Shirleys out there, have a great Monday!

Thursday, July 21, 2011

Dr. Who?

Even though it is about 6,000 degrees outside, I had a Halloweenie feeling (I know, how sick is that?)
Working with Tumble Fish Studio's new kit called Male Persuasion I came up with this little collage.  The background is from Studio Tangie and the frame is from Christina Renee.

"Dr. Charles Who was not amused with the younger owls antics.....after all this was owl obedience school not owl clown school!  Hey, stay cool and know that cooler weather is coming.

Friday, July 15, 2011

Flying to Paris

Tumble Fish Studio has created a new digital kit called "Oooo-La-La" and it can be found over at Deviant Scrap.  As part of the TFS Creative Team I'm fortunate enough to get to play with all of the wonderful images.

I'd like to thank all of the people who came to Artie Gras last night especially my returning customers! Here a shout out to Beth, "Happy Birthday".....one of my best customers!

This little gem made out of a vintage domino is over at Honey Girl Studio Jewelry.  Have a great Friday!

Tuesday, July 12, 2011

Skeleton Key Bracelets......

I love old skeleton keys......big ones, small ones, flat ones....it doesn't matter, I like them all!  I use them in my jewelry in a sort of melding together of the new and the old.  I've used them in necklace designs now for a few years and always wanted to make them into bracelets.  Finally I got the chance! There are many steps to bending and polishing one of these babies! My wonderful husband torched, bent and drilled them for me.  I polished and beaded them.  
 Here are the steps:

 Step 1:  Gather your materials...a Nap Gas torch, a piece of metal pipe about the size of your wrist, a bucket of water, a Dremel Tool,  fine steel wool and a flat head hammer, drill with small bit, and two sets of long nose pliers.
 Step 2:  Hold one end of the key with the long nose pliers and heat the middle of the key until it turns RED then quickly place it over the metal pipe and tap one end of the key to make it slightly bend.
 Step 3:  Switch pliers to the other side of the key and heat the middle to the end until it glows RED then quickly place it over the pipe and tap it with the hammer until it slightly bends at the other end.  I don't need to tell you to not to touch the key as it is super hot....."don't touch the key"!
 Step 4:  Repeat Steps 2 & 3 if you need more of a bend.  If you are happy with the bend in the key then drop it into a bucket of water to quench it.  Leave it in there for about 5 minutes then take it out and dry it off.  At this point you will notice that the torching has left a grey scale all over it.
 Step 5:  Take your Dremel Tool with a grinding nub and sand/grind off the grey scale until it is shiny. I left some areas dark in the creases of the metal to give it a patina.  Next buff with fine steel wool.
Step 6:  Drill a small hole in the end of the key where the little hickey sticks out (the part that goes into the key hole).

Step 6.5:  Bead as you see fit!
These babies are over at Honey Girl Studio Jewelry if you'd like to call one your very own!

Sunday, July 10, 2011

What Goes with Everything?...black & tan

My crafting BFF, Tracy (over at Glitterbug Studios) and I have been on a Black & Cream or in my case Black and Tan kick.  Those color combos go with just about everything no matter what your color palate is.  Tracey has been creating the most amazing assemblages out of vintage cheese boxes.....imagine getting your Velveeta in a wooden box but that was the case awhile back.


This assemblage is in a woodbox (not a cheese box) that measures 8 inches tall by 4 inches wide.  I Photoshopped the shelves with all kinds of goodies on them in the background but they really look 3-D due to the way the shadows fall on the objects.  The little boy is from the Vacay kit from Tumble Fish Studio.   

I've named him Charles and he's backed on chipboard and popped out about 1/2 inch from the background using foamcore board.  He's the curator for the "Combs Conservatory".  They conserve and preserve all of your favorite ephemera and he takes his job very seriously as you can see from the look on his face!


Tracey gave me this dress form and it was extraordinarily ugly.  It was painted white with a light purple apron.....uggghhhcchhh!  Enter the black paint, light tan paint book text, velvet ribbon, lace, glue and ta-da.....something new and improved!

The roses are made out of tan suede which I upcycled from a jacket.

Thursday, July 7, 2011

Firefly

Depending upon what part of the country you grew up in you either referred to them as fireflies or lightening bugs.  Those magical little creatures still make me smile when I see the last rays of sun slip below the horizon and the darkness slip in.  Remember chasing them barefoot through the dewy grass, collecting them in glass Mason jars as a kid?  This digital collage was inspired by lightening bugs!

The Firefly Fairy
This collage was created with the "That's the Ticket" digital elements kit and the background from the "Dark Glow Papers" kit from Tumble Fish Studio.  The fairy is from my personal collection.

Makes you want to go out and catch some lightening bugs tonight, doesn't it?  ;-)

Monday, July 4, 2011

Down the Hole!

Happy 4th!  Last night there was a barrage of fireworks and firecrackers and I'm anticipating even more tonight in the neighborhood.   I once had a beagle that would totally freak out over the loud sounds that this time of year produced....the poor thing, he would get so worked up!  I bet he wished he could have escaped down a rabbit hole!

This digital collage was created with the following: background and scrap words from Tumble Fish Studios, Journal Papers Kit and Journal Words Kit;
tree and ground from Finecrafted, Innervoices Kit; watch face from Maya, Steampunk Kit; white rabbit from personal collection.


Every summer around the 4th of July, Gary and I go to North East, Pa (about 20 minutes north of Erie) to an orchard to pick sweet Bing cherries!  We've been going there for about 16 years now and something strange happens every time.........no matter what containers we bring with us, we seem to always pick 32 pounds of cherries!  Here's my theory on this, I think that we start picking and around the 30 pound mark we start to get tired and pick a few more pounds and then call it quits because we are getting hungry!  So we hop in the car and motor on over to the Freeport where they have the most crunchy delicious Lake Erie perch sandwiches (I dream about these sandwiches in middle of January!)
Yes, Gary and I blew our fried food allotment for the month on this lunch but it was worth it!
Hey, have a safe and happy 4th, don't eat too much potato salad!

Friday, July 1, 2011

A Cinch by the Inch........


Have you ever heard the saying "life is a chinch by the inch but hard by the yard"?  Well, I took that saying and translated it into jewelry.  Everything except the heart with the mermaid, are made out of a cut up yard stick.  They measure one inch across and 1.2 inches tall.  I cut up one of those old, thick yard sticks so it's very sturdy (they don't make them like they use to!)

The tiny collage was on this one was made digitally using elements from Tumble Fish Studio's "Flower Land Gnome" kit.  
 This pink mermaid is a charm I created using the Inkjet Shrink  Plastic.  Remember the Shrinky Dinks? This is the new updated version of them.  Here are a few suggestions I learned through trial and error....
bump your opacity down to about 67% before printing out the sheet b/c as the piece shrinks, the color intensifies....... also make sure you pieces are 50% BIGGER then what you want them b/c they shrink to half the size....... also after you get the pieces shrunk, spray a clear coat over them because if they get wet, the color will smear.  So with all of that being said, here is a piece with lots of yummy summer colors.  The mermaid was created with the body from Studio Tangie's "Oceans" kit and the face is from Tumble Fish Studio "Diva's" digital kit.

The next two yardstick necklaces are traditional cut and paste collage sealed with resin......


This is a digital collage made with elements from the At The Beach kit  from Tumble Fish Studio.
 Have a great Friday!

Wednesday, June 22, 2011

The Twilight Club

Twilight is my favorite time of the day when the golden sun starts to dip below the horizon and the sky is streaked with orange sherbet and slate blue with jets of purple then the sun disappears and the fireflies begin to dance about.....ahhhh twilight!

My new digital collage was inspired by this time of the day.  The elements are from Tumble Fish Studio over at Deviant Scrap.  All of the elements except the boy are from Tumble Fish Studio.
Nobody knew what really went on at the exclusive Twilight Club, only that people whet in empty handed and came out with giant toy sailboats and giant glasses.  Hmmmm, kind of makes you wonder doesn't it?

Tuesday, June 21, 2011

Got Jewelry? I do!

I've been working hard on new pieces!  To check these necklaces out in detail just finger tap dance your way over to Honey Girl Studio Jewelry!

Do you think I'm wearing too many at one time???? Honestly? Lady Gaga could rock this look!

Monday, June 20, 2011

Odd Blue Magic

I was playing with the new digital elements kit by Tumble Fish Studio entitled "Odd Magic" and decided to show 2 different ways of using the elements.  The first is an assemblage that I made using a Flip camera box (I saved the box b/c of the little recess in it).  I covered it with vintage text and Mod Podge.  The gears are made out of leather.  The gear on the heart and the clock is from Studio Tangie.


I really like the leather handle on top! It's a Tim Holtz Sizzix die.


 The second way of using the elements is in a digital collage I made from the "Odd Magic" kit by Tumble Fish Studio.  I recolored her hair, the heart and the rabbits.  You've heard of black magic right?  Well this is odd blue magic (that's what the heart says in French).  See you never know what will happen with odd blue magic!

To check out how my friend Tracey used these images check out this post on her blog!

Wednesday, June 15, 2011

Busy Week!

This has been a busy week so far!  I've got exciting news.....Marsha at Tumble Fish Studio has invited me to be on her Creative Team!  She creates the most amazing digital elements kits to use in Photoshop and they can be found at Deviant Scrap.  I will be using her digital elements to create altered jewelry like the 2 pendants you see below.  They are created in Photoshop and then printed on InkJet Shrink Plastic.

Super Hero Life Guard 1927 Necklace
The life guard was created with digital elements from Tumble Fish Studio and the green fish is from Studio Tangie.  The heart layered behind it is painted and stamped leather.  She's available over at Honey Girl Studio Jewelry.

Dottie DelMar Pendant
 Dottie charm:  face and crown from Tumble Fish Studio and fish body from Studio Tangie.

I was also pouring resin this week.....ICE Resin that is.  I LOVE this stuff!!!! It has always set up for me without any problems and dries crystal clear with no clouding or stickiness.  Whenever I'm at a flea market I always pick up little spoons to fill with goodies and resin to make necklaces.  These are also over at Honey Girl Studio Jewelry.


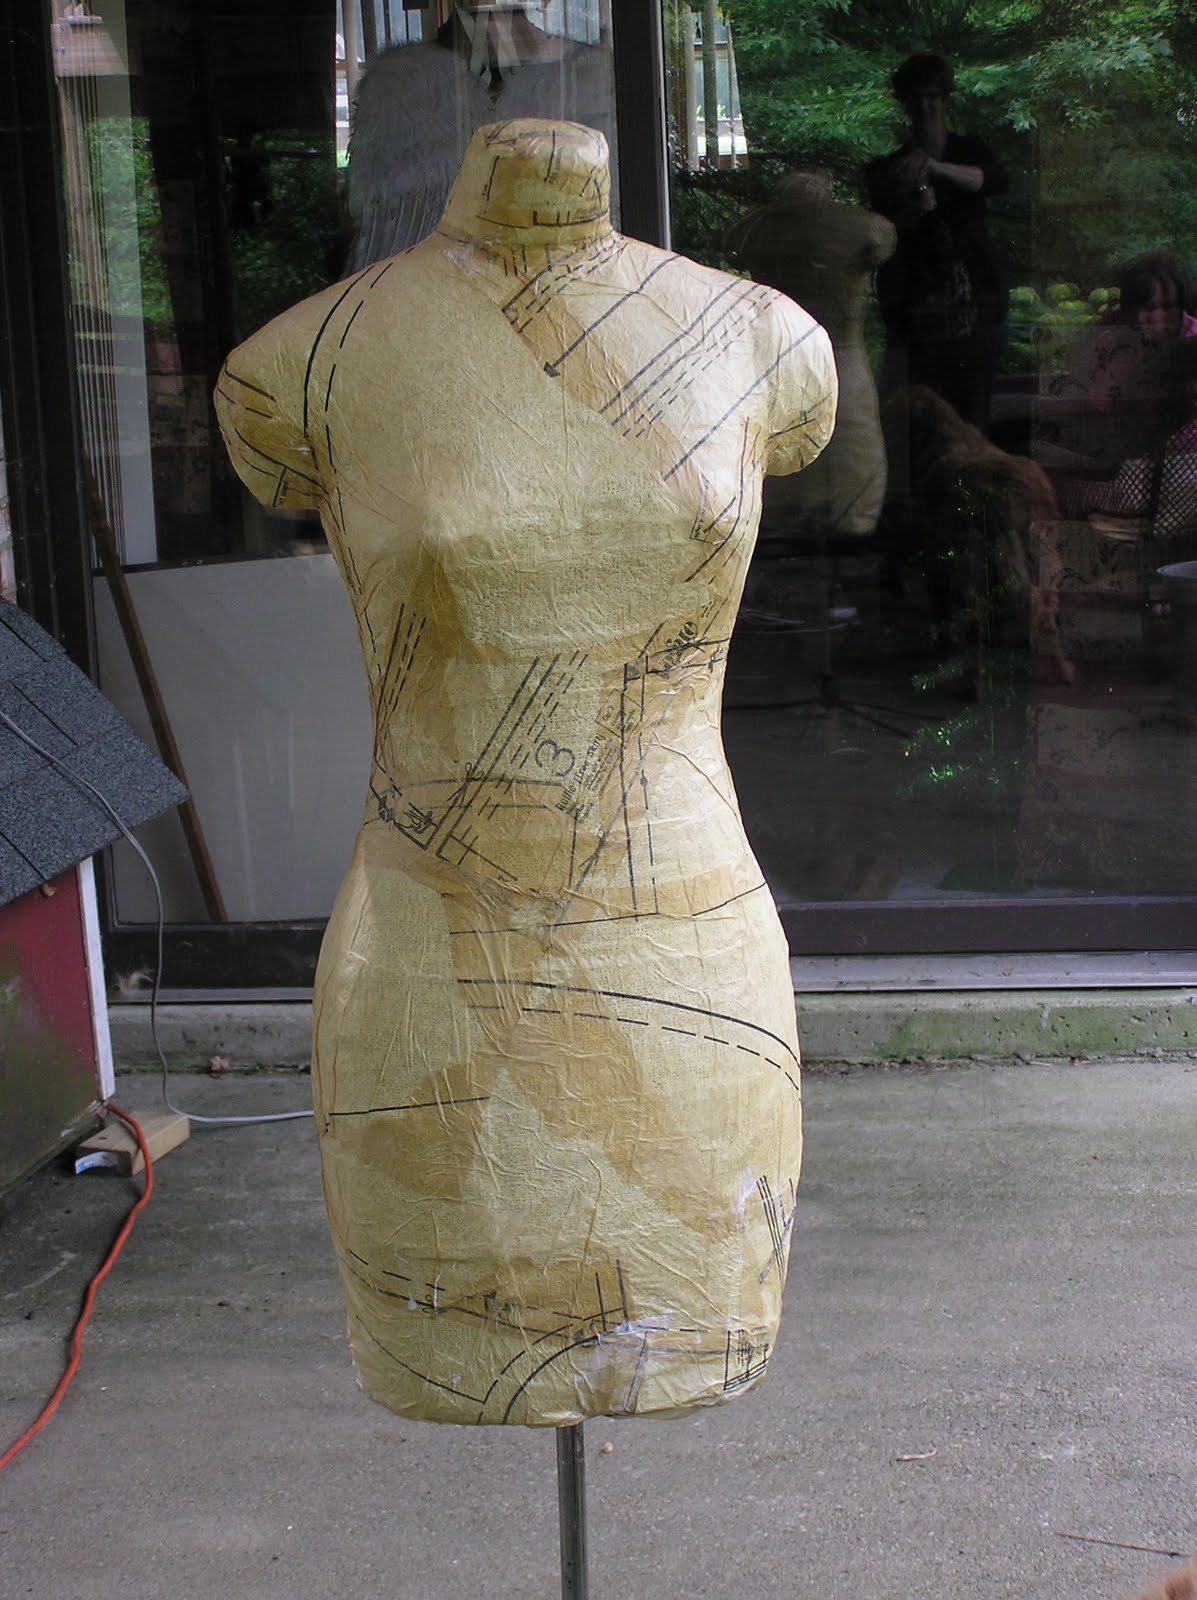
Yesterday I went to my crafting BFF's house.  We went to a few little shops then came back to the house to work on Shirley.  Meet Shirley...................
Tracey bought Shirley a few months ago.  She is a foam dress form and kind of spongy so Tracey wrapped her in Rigid Wrap to make her harder.  Pretty smart, eh?

Tracey, Shirley and me.....Shirley's smiling too.....kind of hard to tell with no head, but trust me, she's smiling.

So Tracey had this idea to cover Shirley in many layers of tissue paper.  So we decided to put on the first layer.........
Hard at work not hardly working!............Shirley said the brush tickled.
About an hour and a half layer and almost a whole small jar of Mod Podge, this is what Shirley looked like.  She's going to be awesome with the other layer added!  You can check out the progress of Shirley on Tracey's blog, Glitterbug Studios.