

 Weekends are also a time for reading. These are a few of the magazine's I read this weekend.....
Now getting back to my previous post about wing, crowns and pointy hats. I'd like you to go click on this artists name Stephanie Rubiano to see how she has taken hat, crowns and wings to a whole new level. Her art is simply enchanting.Ha, ha, ha, ha (read this with an evil laugh).....more pointy hats and wings in ATCs.......
 I've been thinking more and more about gardening, both flower and veggie and it spilled over into this ATC. I'm so excited, Gary ordered asparagus crowns to plant this spring. I LOVE asparagus!!! Does anyone out there in Blogland grow asparagus? If you have any tips on growing it I sure would appreciate it!
Talk about a look of determination! I've used the image of this little girl several times in my work. I just love the stubborn, fierce look on her face. The "Beautiful" stamp is an unmounted dollar stamp from Pat Catans.
 Hope everybody is having a nice weekend and having fun creating!


 Next dilute a little bit of robin egg blue acrylic paint and dip the bottom of the paint bottle in it and stamp circles randomly over the paper.......
 After the blue circles have dried, I took a bronze colored ink pad and dabbed it all over the paper here and there.......
 Next, I took the tip of the brush and dipped it into crocus yellow paint and made dots all over...
 The last thing I did was to take sequin waste and use to it stencil dots with brown ink.
 So now I have a piece of background paper to use for a few ATCs!


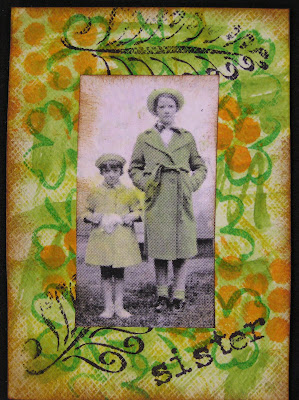


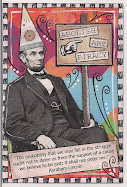
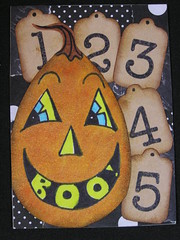
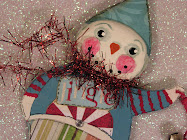
 All ATCs are available for trade!


